
5 Unique Jack-o-Lantern DIY Crafts For Kids This Halloween
There are few Halloween symbols more iconic than the jack-o-lantern. Pumpkin carving is one of our favorite pastimes here at Pinwheel Crafts. Real life pumpkins can get very messy (and slimy), though. If you have young kids, or trouble dealing with squash innards, we have the perfect pumpkin carving alternative for you. This month, Pinwheel Crafts is bringing you a variety of jack-o-lantern projects that will keep your hands (and kitchen utensils) clean. Let’s get started!
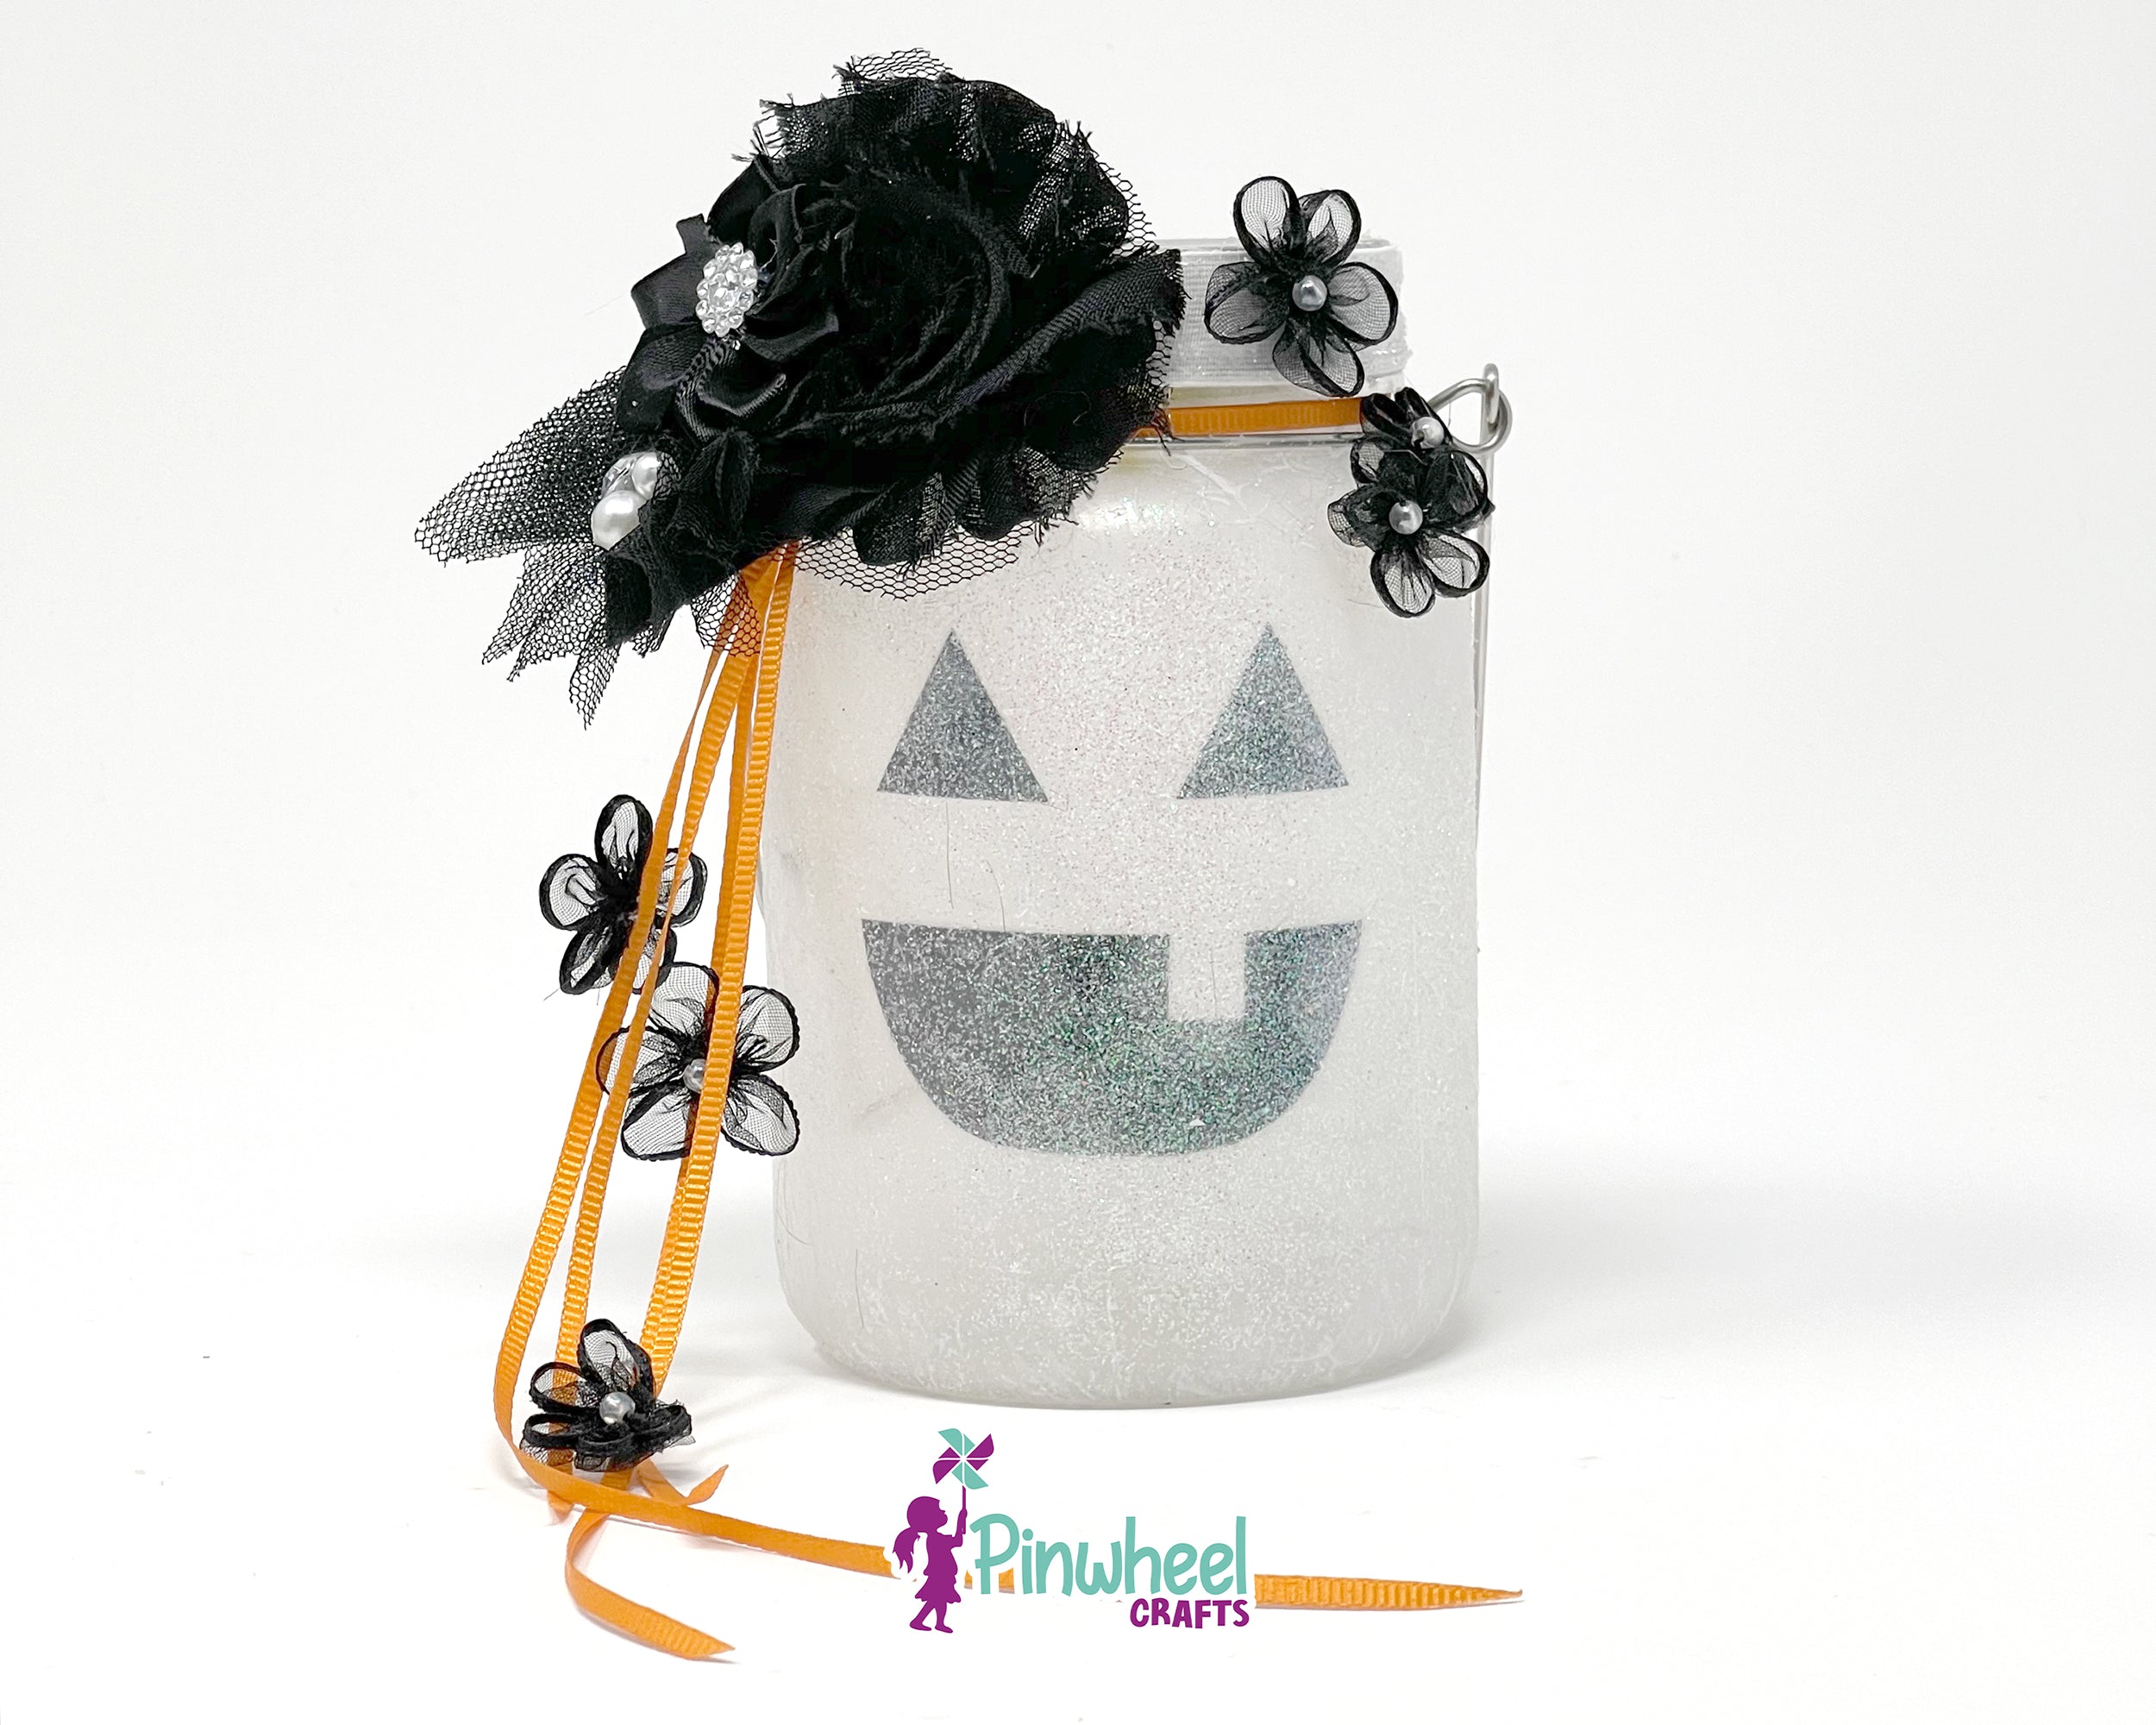
Jack-o-LANTERN
This project is a great diy trick or treating craft. It’s fun to make, and even more fun to carry around as your children collect candy on Halloween!
You will need:
- Fairy Jar Lantern (like the one included in the Pinwheel Crafts Fairy Jar Kit)
- Black paper or card stock
- White craft tissue paper
- Scissors
- Glue
- Small halloween decorations
- Ribbon, string, and glitter in halloween themes and colors
- You can get easily get the supplies you need for this craft in the Pinwheel Crafts all-in-one Fairy Jar Kit!
Directions:
1. Using the scissors and black paper, cut out shapes like you would cut out on a jack-o-lantern (triangles for eyes, semicircles for mouths, etc).
2. On one side of the black paper pieces, apply glue evenly.
3. Place the pieces inside the jar, using the end of a pencil to position them if necessary. Hold the paper until it stays in place on its own, or until the glue has completely dried.
4. Cover the outside of the jar with a thin layer of glue. Carefully place one layer of tissue paper around the entire jar, and let it dry.
5. Trim the excess tissue paper at the bottom of the jar, apply glue, and fold it under. Allow the glue to dry completely before moving on.
6. Apply glue around the outside of the jar where you would like to add glitter, and then sprinkle your glitter over the glue. Allow the glue to dry completely.
7. Using glue, add decorative items onto the jar lid and handle as you see fit to give your lantern a spooky aesthetic.
8. Display your new jack-o-LANTERN and take it with you trick or treating this Halloween!
Jack-o-lantern Jars
You can also create the reverse effect of the previous craft by painting everywhere EXCEPT for where the light should show through. These spooky jars make great decorations and party centerpieces!
You will need:
- Mason jars
- Masking tape
- Glass paint
- Mini fairy lights or electric candles
Directions:
1. Cut your jack-o-lantern face shapes out of masking tape.
2. Place the masking tape pieces onto your mason jar where you want the pumpkin face to go.
3. Paint the entire jar using your preferred color of glass paint. We added a couple coats of primer to our jars to allow for quicker drying and better adhesion. FUN FACT: Did you know that pumpkins come in a whole variety of colors? Go to your local grocer and you will find orange, green, white, multicolor, and even PINK pumpkins! So don’t feel like you need to make your jar the traditional orange.
4. While you are waiting for your painted jar to dry, you can also paint the lid green or brown to look like a stem.
5. Once all the glue has dried, remove the masking tape pieces.
6. Turn on your mini lights or electric candle, place them inside the jar, and put the lid back on.
7. Switch the lights off and viola! You have a cute little pumpkin jar to set out as a Halloween decoration, or inside for your annual spooky soiree.

Origami Pumpkin Patch
This simple paper folding activity is great for decorating your windows and doors for trick-or-treaters. You can even put them on homemade cards. Whatever you use them for, these paper pumpkins are absolutely adorable.
You will need:
- Origami paper squares in desired pumpkin colors
- Quick drying glue or tape
- Green ribbon, chenille stem, or thin paper strips
- You can get all the supplies you need for this project in the Pinwheel Crafts all-in-one Flower Origami Kit!
Directions:
1. Follow the origami steps provided over at the Gathering Beauty blog to create a variety of pumpkins in different colors and sizes. We used paper squares ranging from 3x3” to 6x6”.
2. For each finished origami pumpkin, tape or glue down the flaps on the backside of the pumpkin so that they will lay flat.
3. Cut out a small dark green piece of paper to use as a stem for each pumpkin.
4. On a flat piece of card stock or poster board, arrange your paper pumpkins and glue them down.
5. Using a long piece of green ribbon, glue it to the top middle of each pumpkin, leaving extra ribbon between each pumpkin for a curling vine effect.
6. Cut out many pumpkin leaf shapes from the dark green paper in a variety of sizes and glue them all along the ribbon vine.

Jack-o-lantern Painted Magnets
This is a fun group activity to do with the kids, or set out for everyone to do at your halloween party. Once completed, these little decorations are so fun to display on your fridge through the remainder of the month.
You will need:
- Ceramic tiles in a variety of shapes or sizes
- Adhesive backed magnets (or magnets and glue)
- Paints and brushes
- Green paper and chenille stems
- You can get all the supplies you need for this project in the Pinwheel Crafts all-in-one Fun Fridge Magnet Kit!
Directions:
1. Choose your tile shape and plan your jack-o-lantern face design.
2. Paint the tile your desired pumpkin color. FUN FACT: Pumpkins can come in orange, green, white, multicolor, and even PINK! So don’t feel like you need to make your magnet the traditional orange.
3. Once the paint has dried, use a detail brush and black paint to apply your jack-o-lantern face and any other details.
4. While you are waiting for the paint to dry, cut out a pumpkin leaf from the green paper and a 2-3” piece of chenille stem.
5. Curl the chenille stem around a pencil to create a spiraled vine and glue it to the back of the tile near the top center.
6. Using a drop of glue, attach your paper leaf wherever feels right for your design.
7. Once you have your completed design and are happy with everything, attach the magnet to the back of the tile and put it on display!

Conclusion
So, how did we do? Are you excited to break out the crafts supplies and start making your very own pumpkin patch tonight? We LOVE to see what you and your family make, so be sure to share your jack-o-lantern creations with us on Instagram and Facebook. And, if there are any crafts we’ve missed, please leave us a comment so others can be inspired by your great ideas too!
Until next time, spoooooky crafting!


