Pinwheel Crafts - April Showers Bring May Flowers!
Share
Welcome spring! Here at Pinwheel Crafts, April is all about celebrating spring and Easter. Spring is typically the time when the last bit of snow turns to rain as temperatures climb. Increased rain shower activity sparks the beginning of flowers and plants to really start blooming. Easter is the most important and oldest festival of the Christian Church, celebrating the resurrection of Jesus Christ. Although Easter is modernized, we hope your family carries on traditions, like a few listed below. We hope you enjoy a few of our favorite craft ideas for Easter and those rainy spring days. Please don’t forget to share your crafts with us on Instagram @pinwheel.crafts.
Easter Origami

What’s better than creating your very own Origami Easter Egg holder? Or Chicken? With our Pinwheel Crafts Paper Origami Kit, you can create your own Easter projects! We had so much fun making these, and the Egg holder would be perfect on your Sunday Easter table. Take a look at the many options we created!
You will need:
- Origami paper in Easter colors (try our Pinwheel Crafts Flower Origami Kit)
- Glue (optional)
- Googly eyes (optional)
Directions:
Easter Egg Holder
Using one 4 x 4 inch square of colored paper, check out this great tutorial from DIY Amazing Crafts to get the step-by-step process to create an adorable Easter Egg Holder. If you are feeling extra crafty, you can use double sided origami paper to add contrast. Using two 4 x 4 inch squares of paper (color on one side and white on the other) follow the steps provided in this video to create your Easter Egg Holders.
Chickens:
Using a 4 x 4 inch square of yellow or white paper, follow the steps provided by MS Art and Craft video to create a cute, origami chicken. You can also add googly-eyes or real feathers for an extra special touch.
Carrots:
Using a 4 x 4 inch square of orange paper, check out this super cute and simple carrot tutorial from Craft and Art School to create a bundle of origami carrots. You will also need a 4 x 4 inch square piece of green paper for the leaves. For that extra detail, paint a few lines on the paper for the dirt effect.
Flower Pots
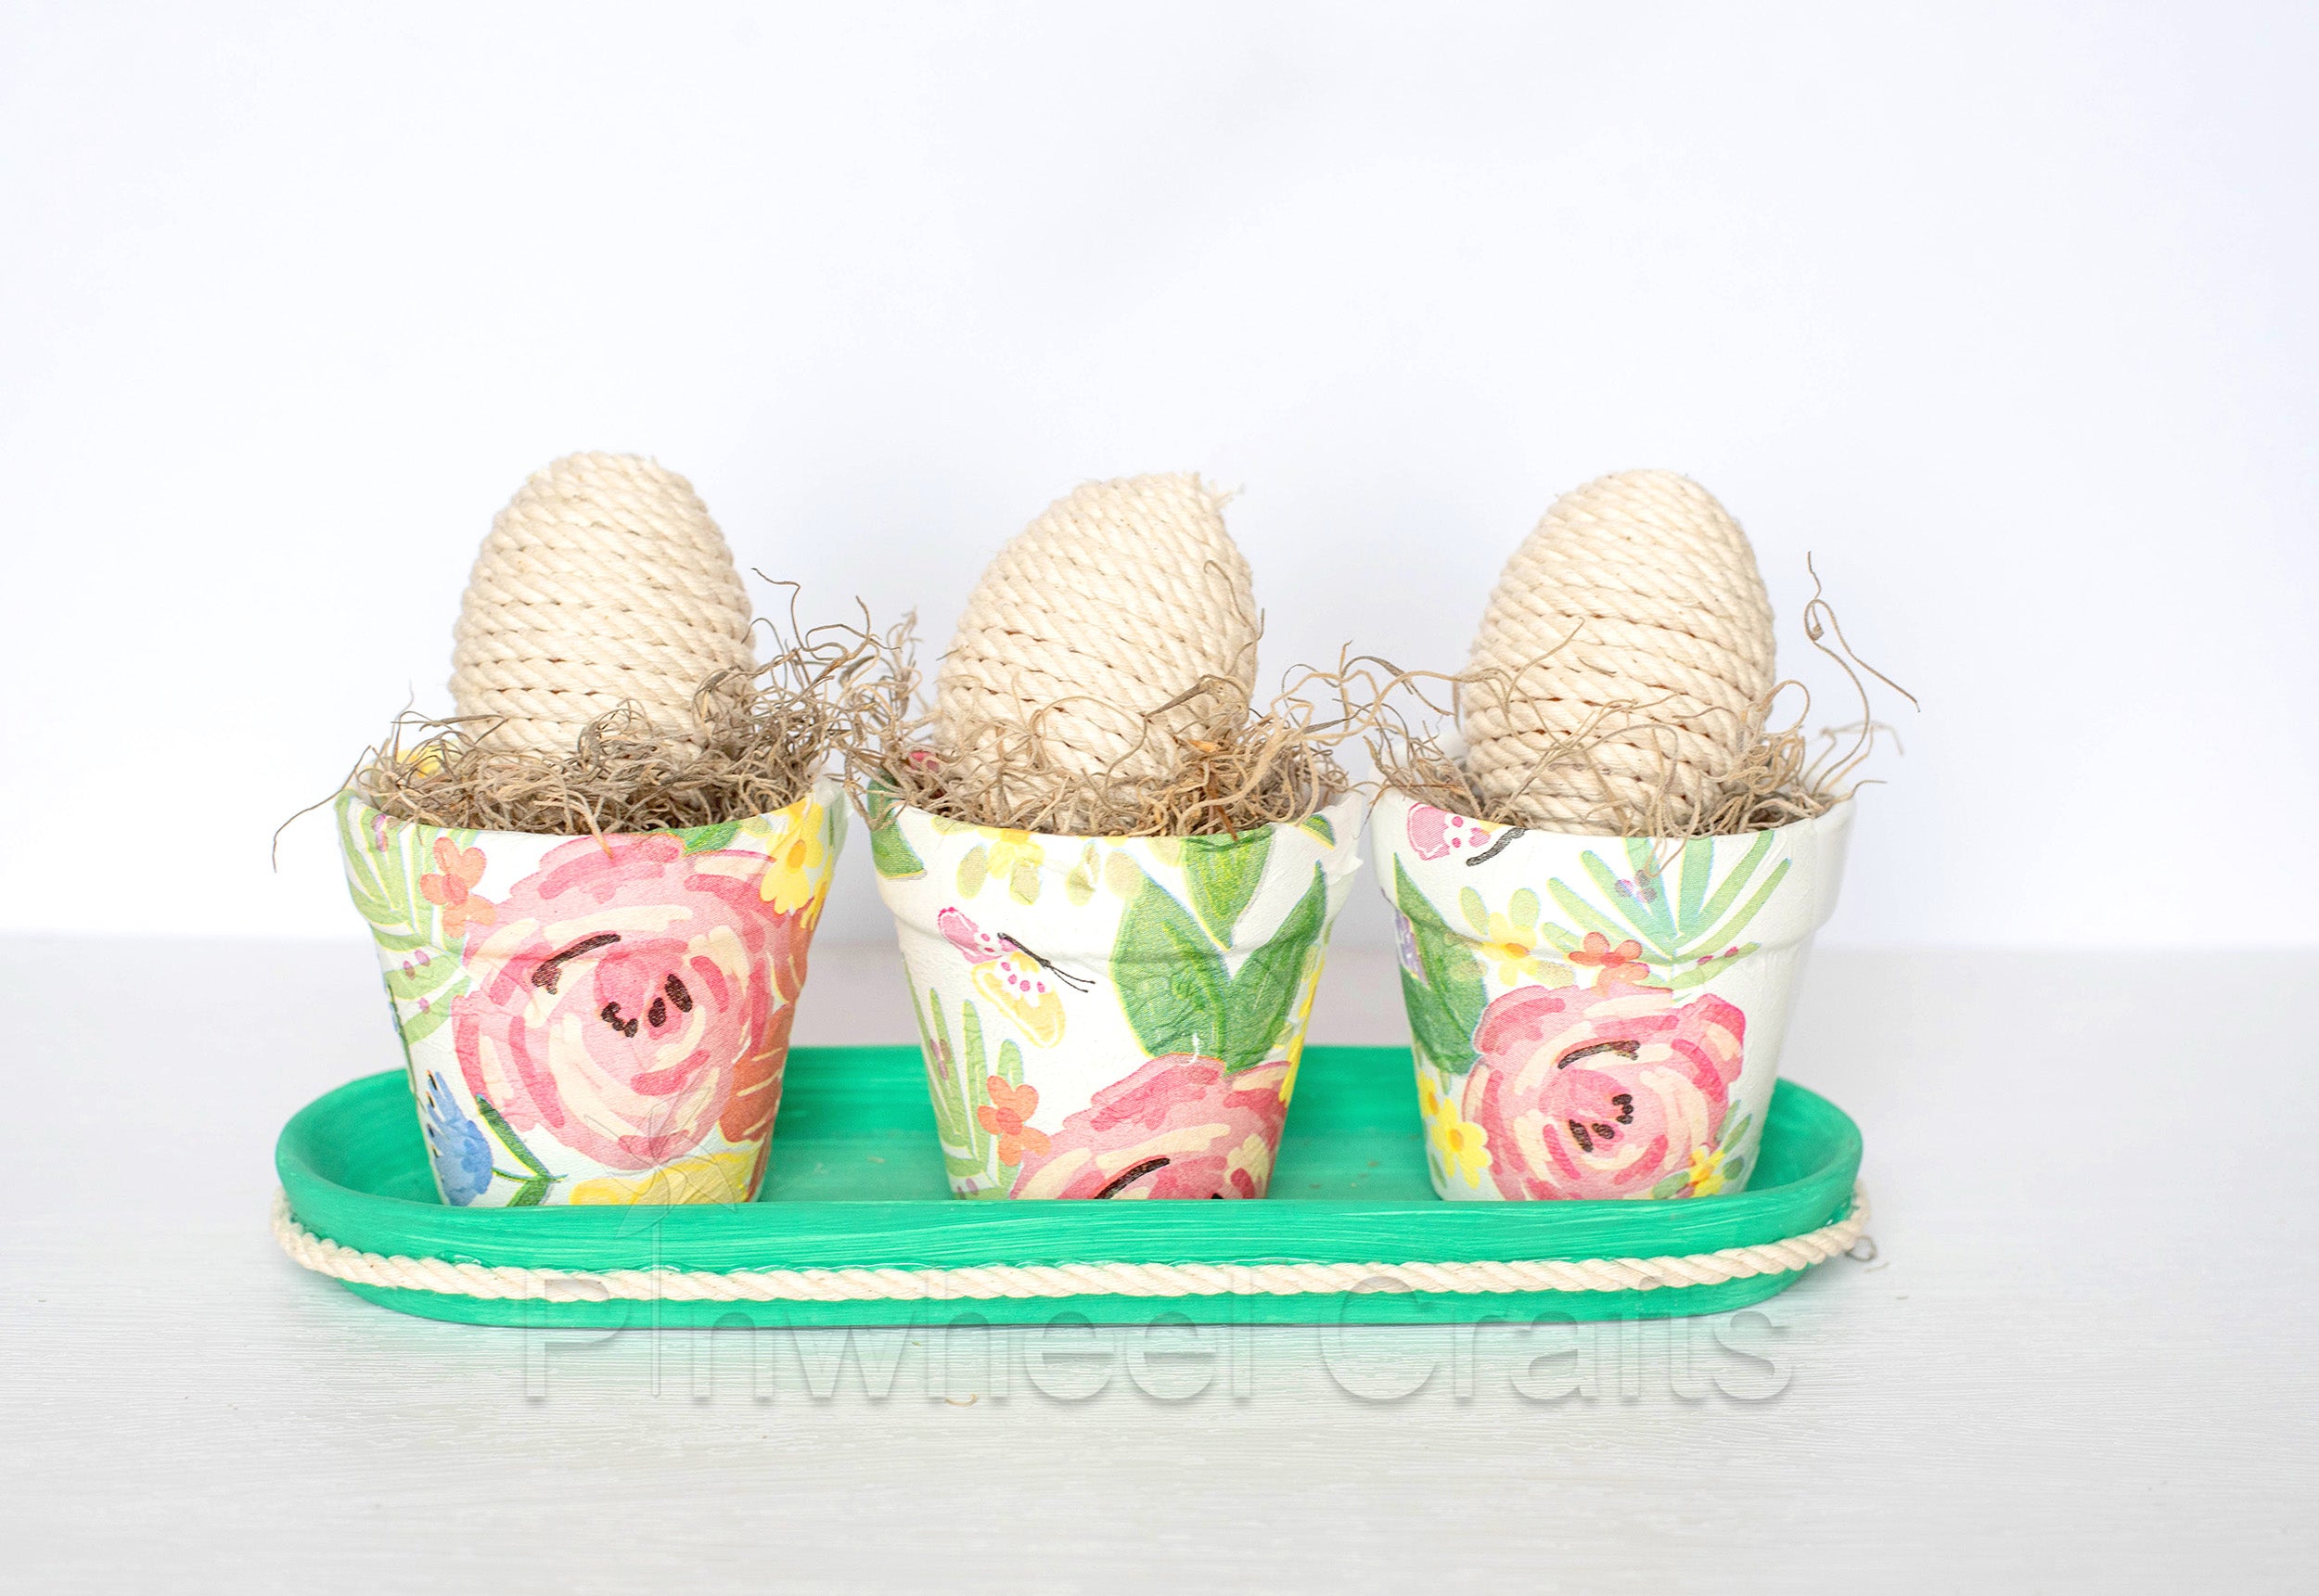
You will need:
- Pinwheel Crafts Flower Pot Kit
- Paper Napkin of your choice (ideally one with a cute, holiday themed pattern printed on it)
- Glue
- Paint Brush
Directions:
- Apply a coat of glue on your ceramic pot or tray with your paint brush.
- After you have separated the napkin and unfolded it into a single layer, discard the plain backing. Apply the napkin directly onto the wet glue coating the pot.
- Use your paintbrush or finger to smooth out the napkin. Be gentle, the napkin is very delicate.
- Let dry and fill with dirt and your favorite plants or Easter fluff!
Easter Soap
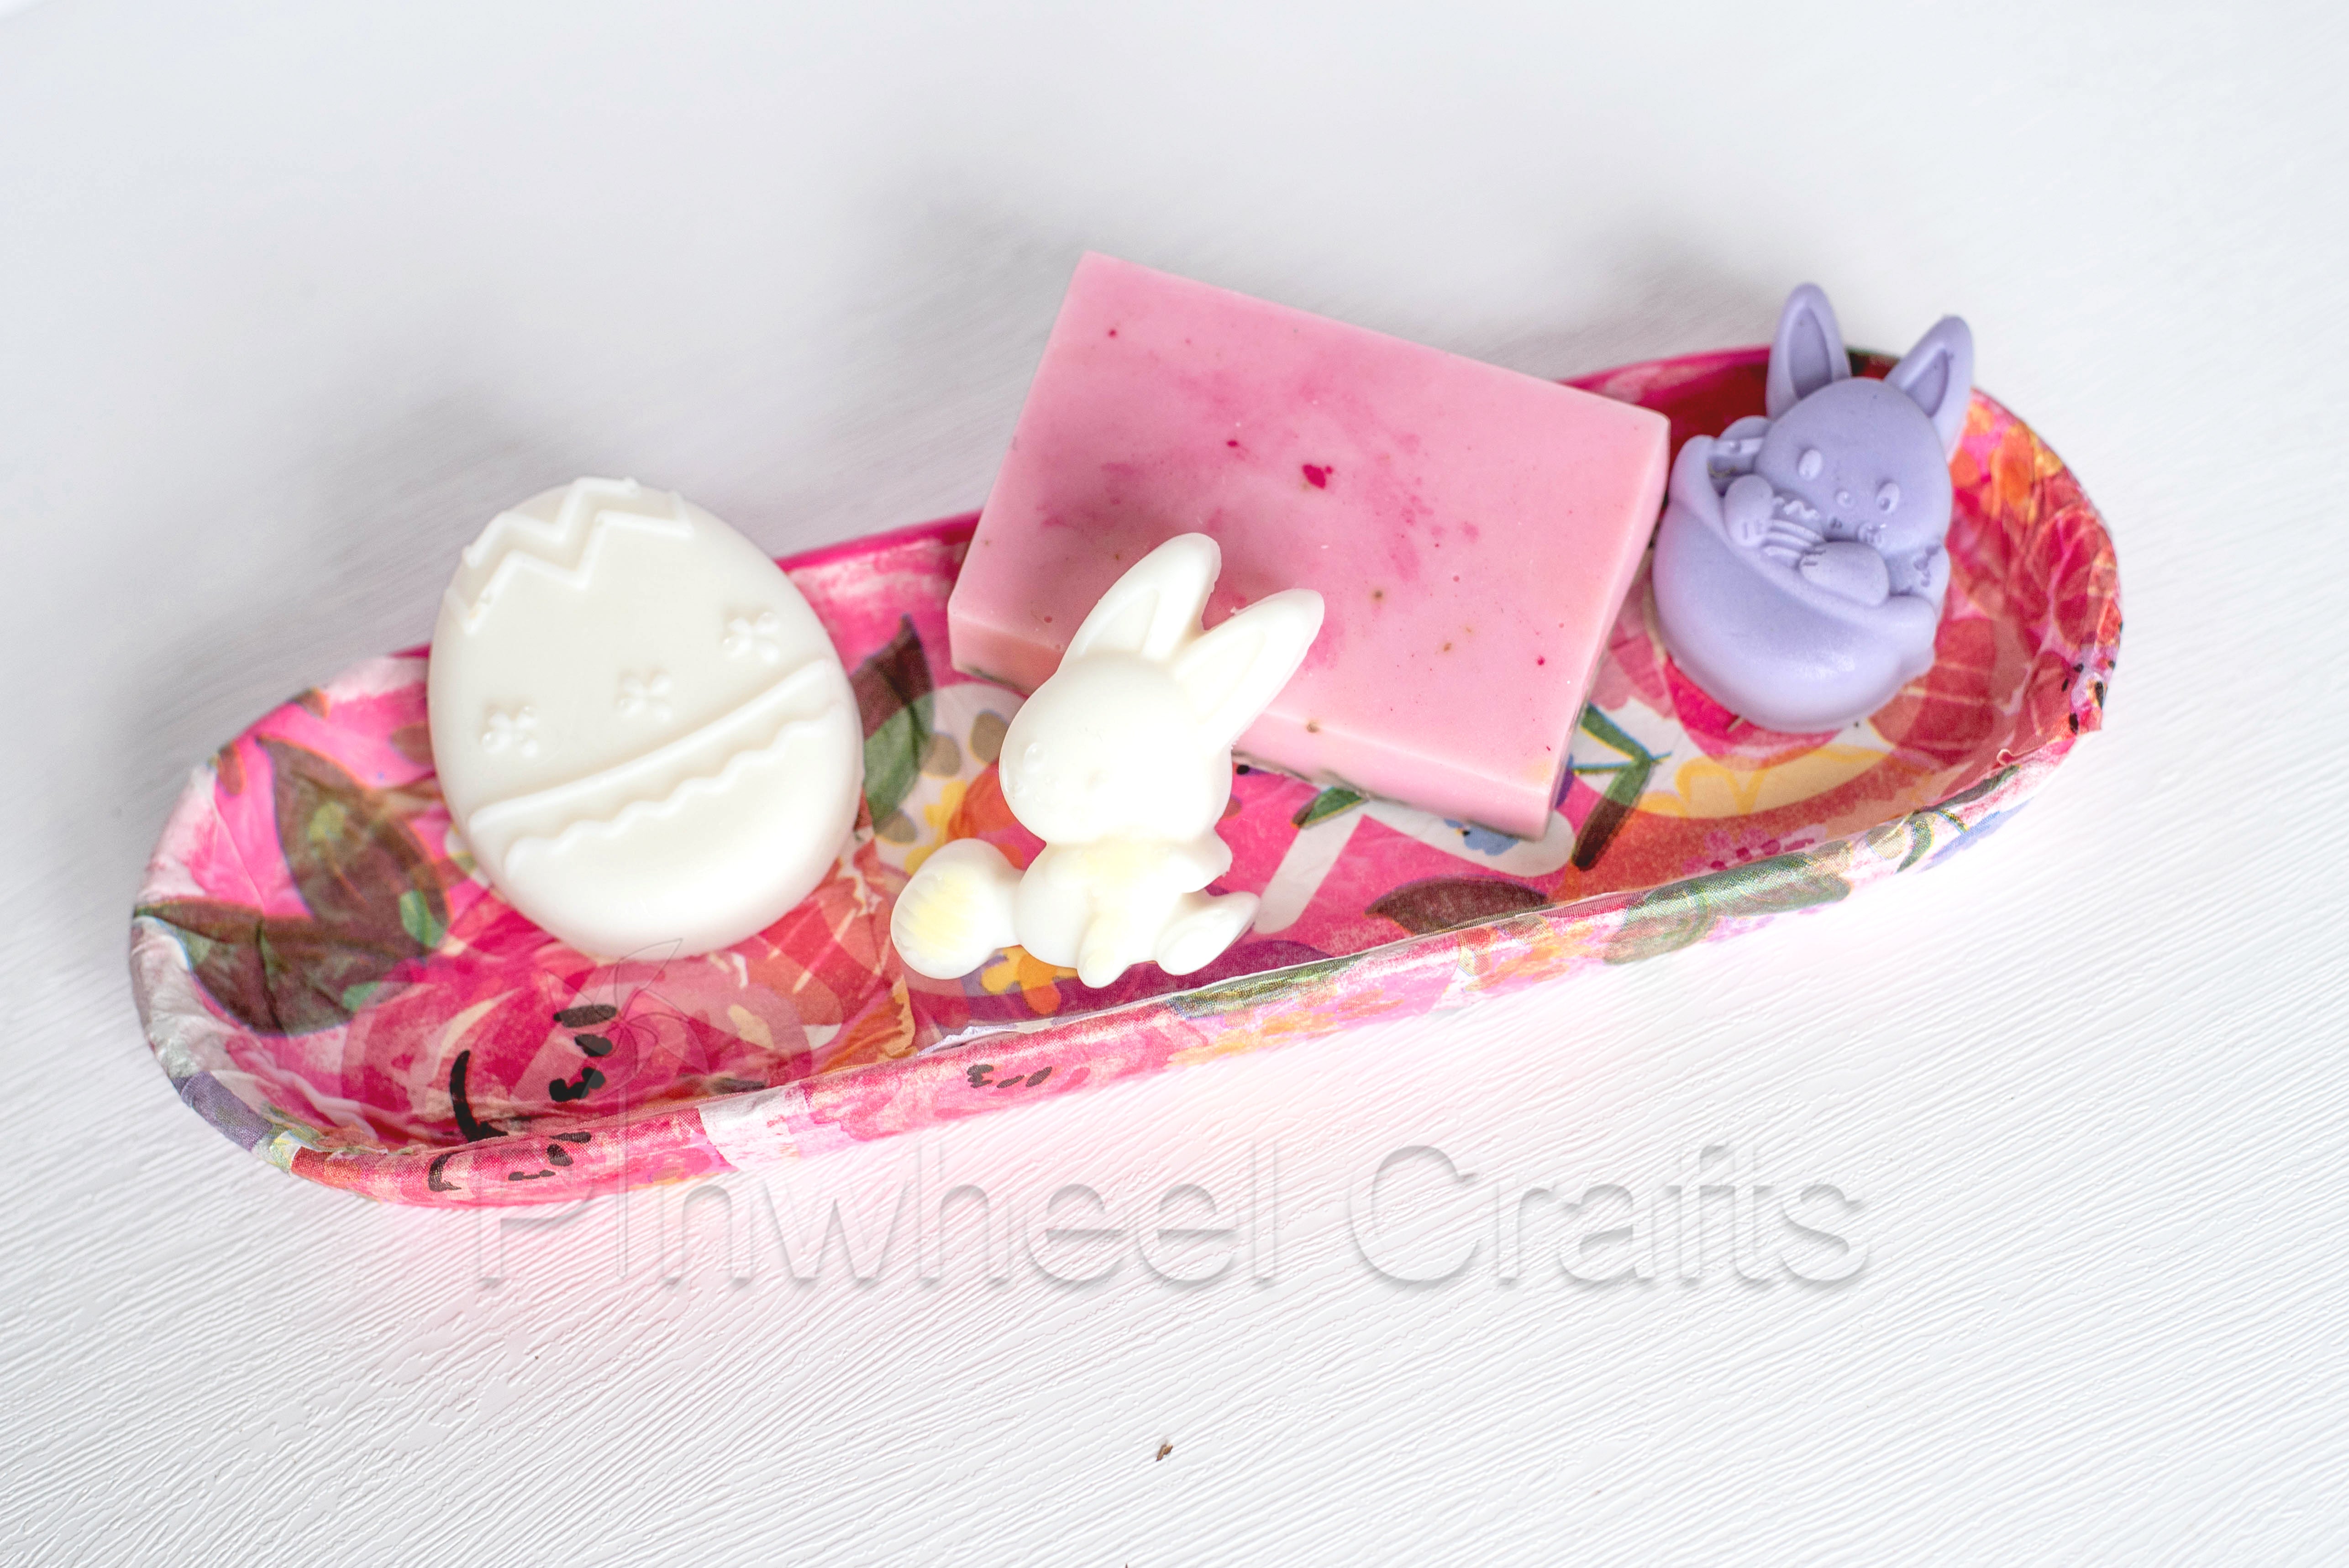
Enjoy your Pinwheel Crafts Soap Making Kit! Making soap has never been so easy with this soap kit for kids. Make your own custom hand soap to gift to friends and family. This is the perfect touch for any Easter celebration.
You will need:
- Pinwheel Crafts Soap Making Kit
- Easter Silicone Mold (we found ours on Amazon.com)
- Dye (optional)
- Scents (optional)
Directions:
Melt the soap according to the directions in the kit, mix your colors and pour into any mold of your choice. Don’t forget to add in the essential oils for the extra touch. Let the soap cool and harden and you will enjoy beautiful Easter soaps! These make awesome hostess gifts!
Easter Egg Designs

It is time for Easter Eggs! One of Easter’s oldest traditions is to use dyed and painted chicken eggs, but a modern custom is to substitute real eggs with chocolate eggs wrapped in colored foil, hand-carved wooden eggs, or plastic eggs filled with confectionery such as chocolate. However, real eggs continue to be used in Central and Eastern European tradition. Take a look at a few options we created and let us know what you created on our Instagram @pinwheel.crafts.
You will need:
- Hard Boiled Eggs (or Plastic or Wooden eggs if you want to skip the hard boiling part)
- Water tight container large enough to submerge an egg, one for each color you want to use (paper cups are a great option)
- Paint, markers, napkins, dye
Directions:
- Protect your surface by covering with a sheet of newspaper or paper towel.
- Make sure your hard boiled eggs have completely cooled.
- Fill the container with enough water to cover the egg.
- Add one teaspoon of white vinegar, and about 20 drops of food coloring. The more food coloring you add, the darker the color of the egg will be.
- To create unique patterns on the eggs, use rubber bands, wax, crayons, or waterproof tape to mark off stripes or designs where you don't want the dye to hit.
- Place your egg on a slotted or regular spoon and dunk it into the container, turning occasionally so all sides get color.
- Keep your dyed egg in the liquid for up to 5 minutes. The longer you leave your egg in the dye bath, the more vivid the color will be. You can also dip only part of the egg in one color, then switch to another color to create a multi-colored effect.
- Carefully remove the egg with a spoon and set it aside to dry. Once the eggs are dry, you can apply stickers, washi tape, gold leaf, or other decorative elements to finish off the look.
Conclusion
There are so many ways to celebrate Easter this spring! We hope you enjoy a few craft ideas to do with your children. Please don’t forget to share your finished projects with us on Instagram @pinwheel.crafts. We hope you and your family have a wonderful Easter!
Until next time, happy crafting!
