Hand Print Animal Art for the Whole Family!
Share
Today’s post is a project that most folks can do with supplies they already have on hand. Yes, we’re talking about handprint art! While this project offers a fun and simple project for you to do with your children, it can also be used to make one of a kind cards for loved ones (because Mother's Day is just around the corner).
Since the dawn of humankind, people have used their hands and fingers to create beautiful artwork on rocks and cave walls. While we have advanced our artistic techniques since then, it’s still fun to see what we can come up with using just a little bit of paint and our imagination.
Already familiar with how to make GREAT handprints?
Click here to jump to the design ideas!
Supplies
First things first, let’s get our supplies together! Here’s a short list of things you will need for this project:
- Non-Toxic Paint (acrylic or tempera work best)
- Paper plates (for holding paint)
- Brushes in large, medium, and small (can use paper towels, sponges, or fingers in a pinch)
- Paper
- Markers
Optional supplies:
- Googly eyes
- Feathers
- Chenille stems
Technique
Now we need to go over a little bit of proper hand printing technique. There are a couple of different approaches and pros and cons to each. One of the simplest ways to make a hand print is to pour your paint into a shallow dish (just enough paint to generously coat the bottom of the dish) and press your hand, palm down, directly into the paint. This is great for younger children that need their parents help and allows for multiple prints per dip. The downside is that it can get messy and the prints can appear a little blown out. If you’re looking for a more precise print, you’ll want to use a brush to apply the paint to your hand. Coat your hand generously, though, because if you don’t use enough paint and don’t move quickly enough, the paint can dry and leave a poor print. For this method, it’s also a good idea when you are making your print to use your other hand to press your hand and fingers more firmly to the paper. This will help you get a detailed, but more full hand print.
Animal Designs
This hand printing art post will focus on our four-legged friends! One of the most versatile ways to make handprint art is by turning your handprint into an animal. When you place your handprint on the paper, point your fingers towards the bottom of the paper. Keep your fingers somewhat close and spread your thumb wide. The four fingers will act as legs and your thumb will be either the head or the tail (depending on the design). Now you have the base for many animal designs! Here are some examples:
Elephant

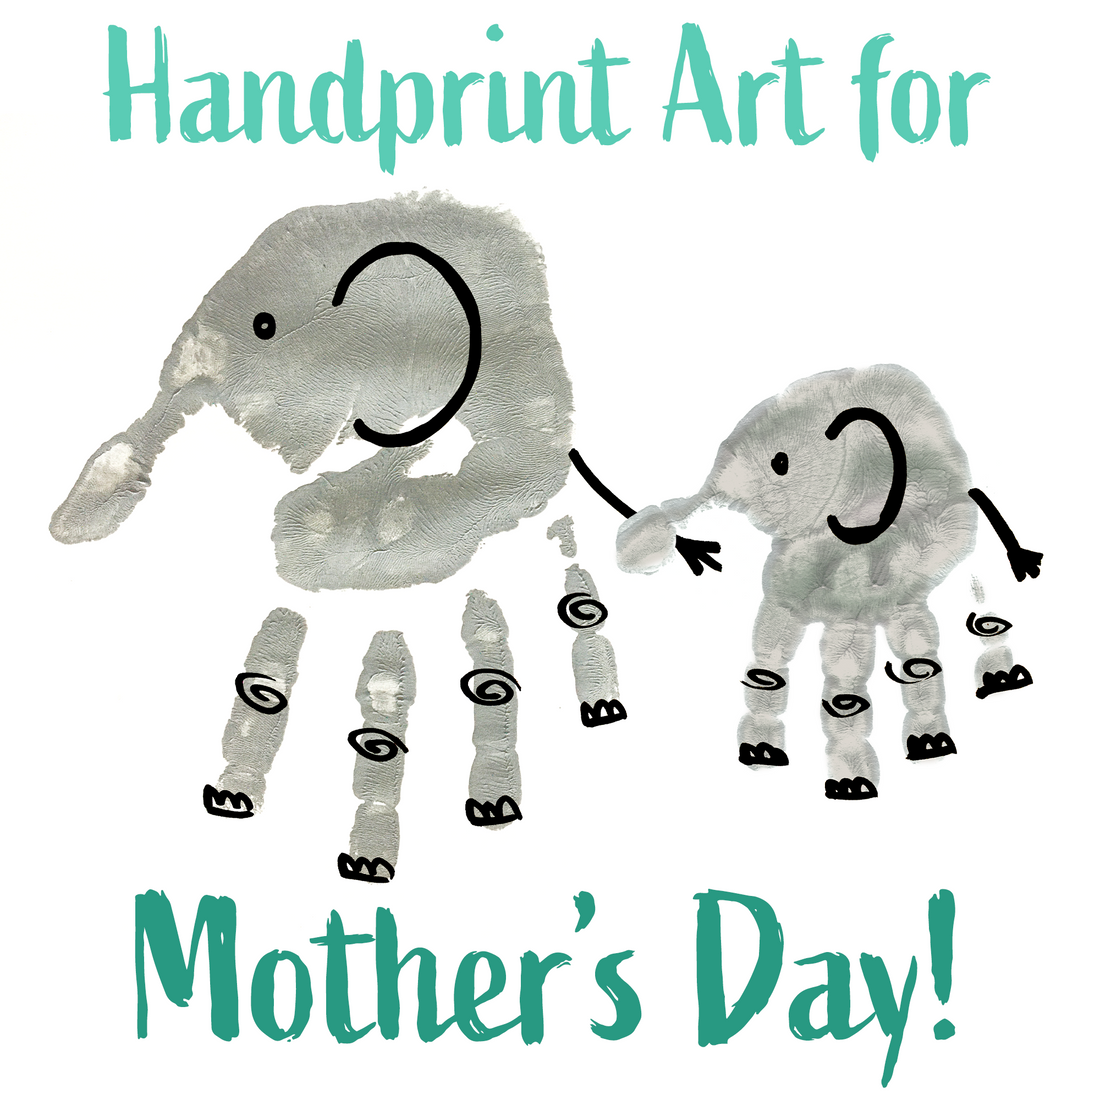
This is a great gift to make with your child for Mother’s Day. The thumb will be the front end of the animal and will act as the trunk. Using grey paint (or whatever color you want your elephants to be), make one print using Mom’s hand, and another for each child. Then, paint the tail coming out of Mom’s hand (pinky side) to the child’s trunk. You can then use additional paint or markers to add the c-shaped ears, eyes, and any other creases, or details you want to include.
Dinosaur

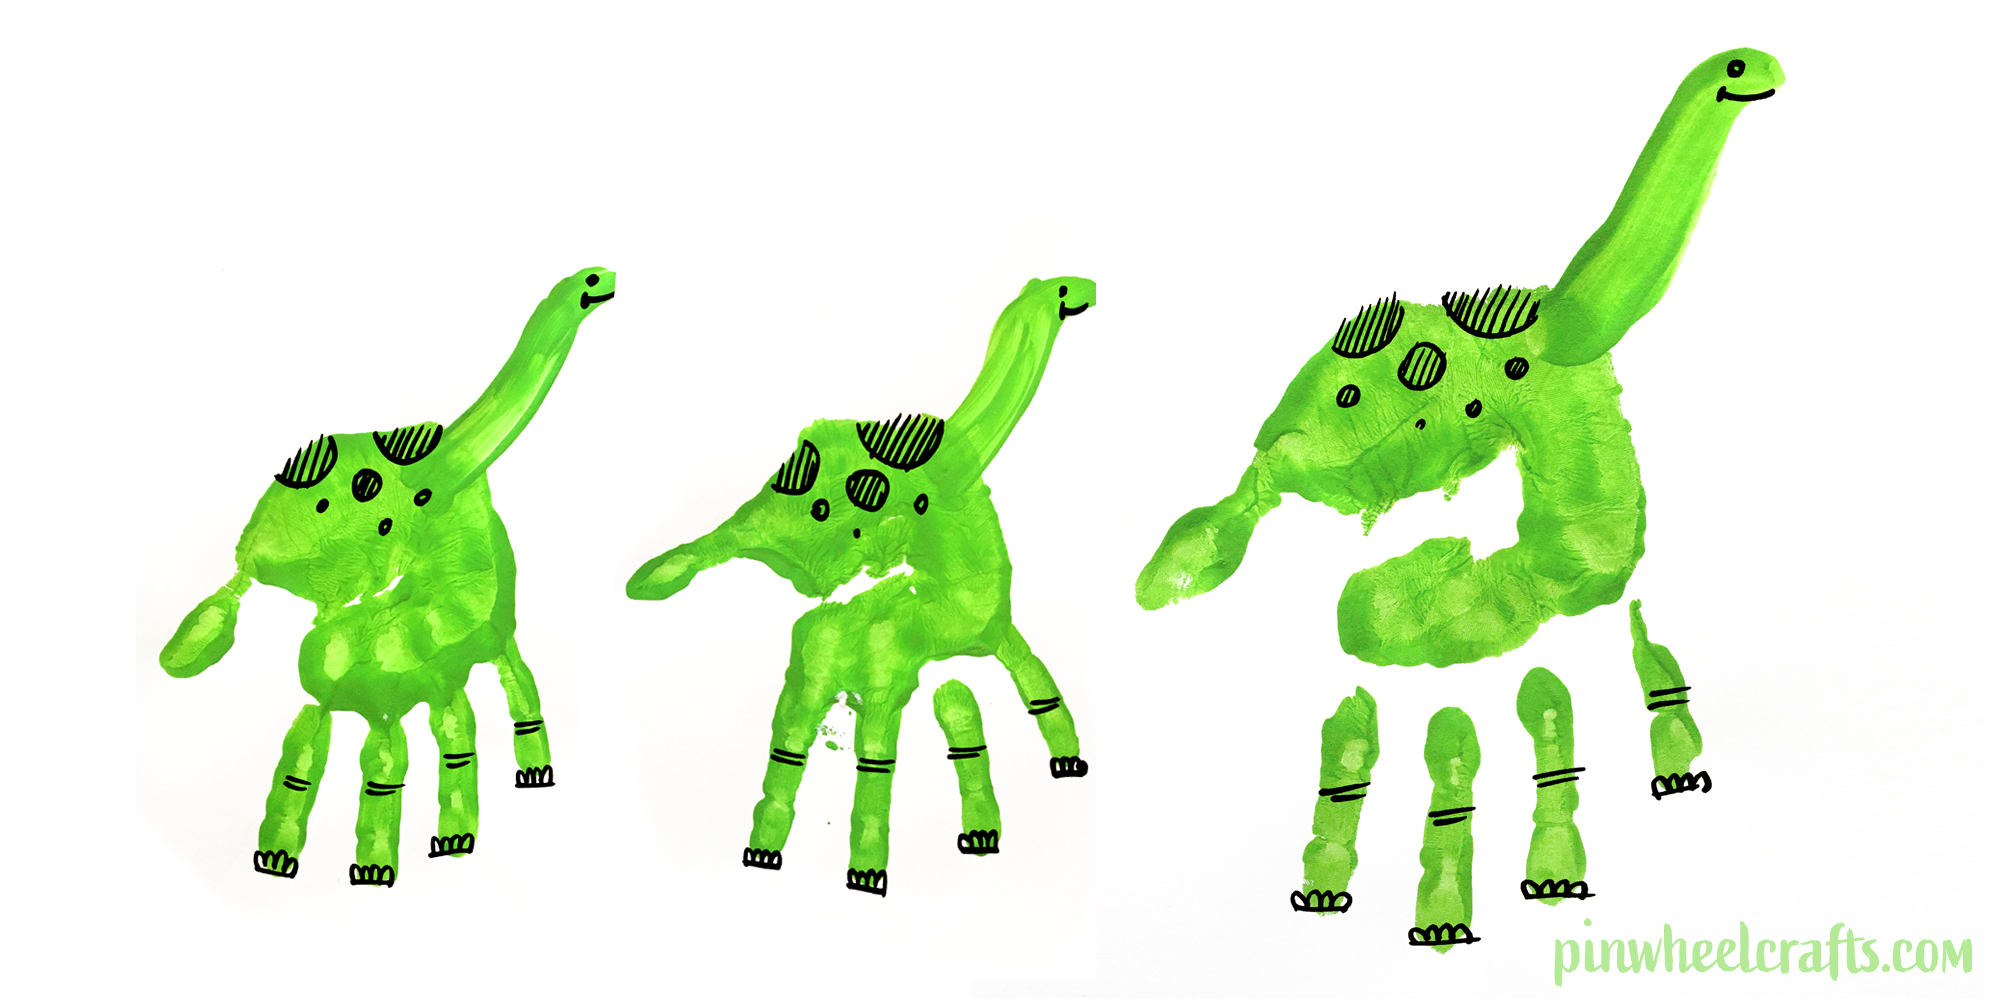
As far as animals go, this is as basic as it gets. You can use any color you like, though we think most people associate dinos with the color green. With this design, the thumb part of the hand print will act as the tail. You will need to use your fingers and some additional paint to add a long neck coming up from the bottom of the palm on the pinky side. If you feel like additional touches, you can add eyes with markers, or even some playful spots on its back in a darker shade of green.
Unicorn

For this design, the thumb is going to act as the head. As such, you will want to spread it wide and try to bend it slightly when making the print. To add fun hooves, simply paint your finger tips a different color before pressing your hand to the paper. Once the print is done, simply draw, or paint the mane, tail, and horn. This design is extra fun to do with white paint on dark paper. Of course, if you only have white paper, you can use light pink, or a pale lavender instead.
Lion

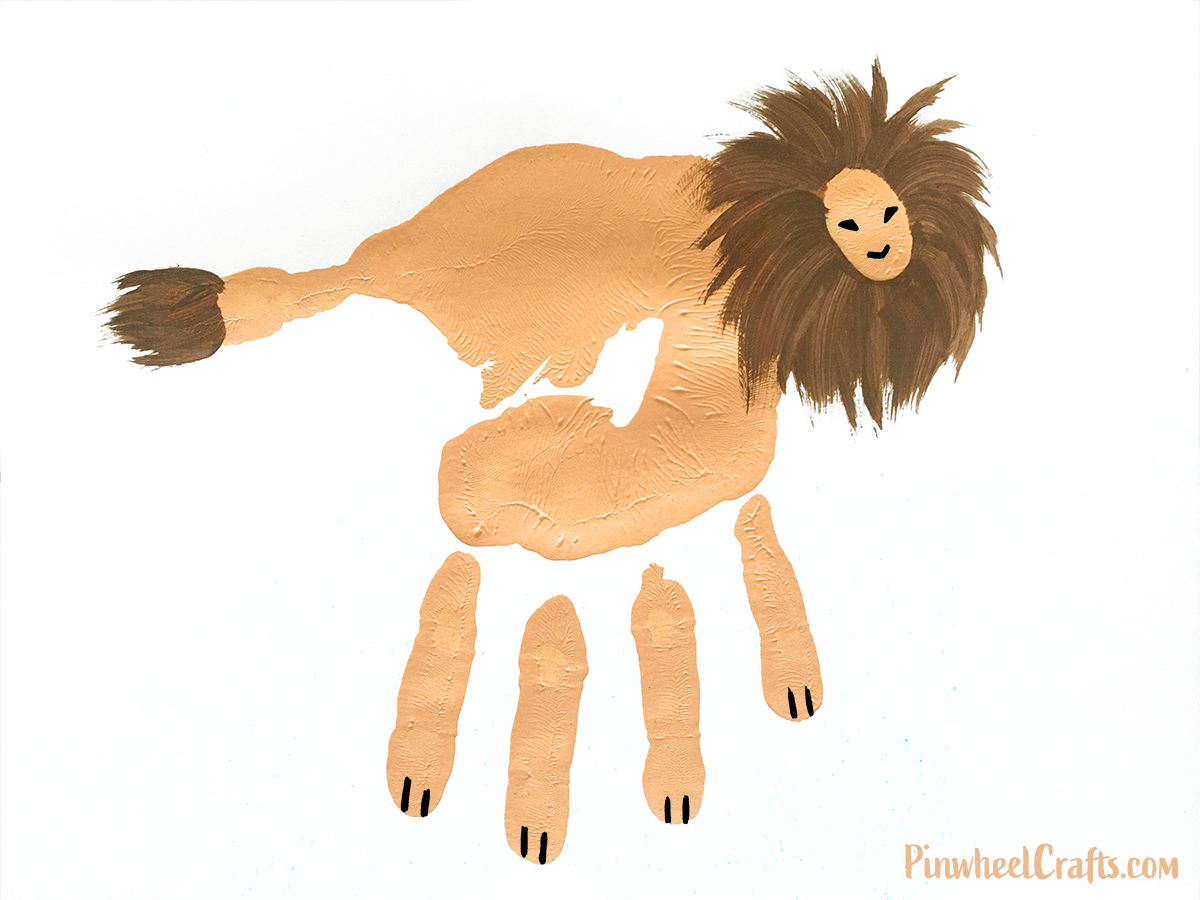
For this one, the thumb will be the tail. Use tan or orange paint for the print, and paint the tip of the thumb brown (this will be the furry bit at the end of the lion's tail). When you press your hand down, try to use the side of your thumb to keep the tail somewhat slender. Using the same orange, make a thumbprint up and to the side of the palm (pinky side). You can then use your other fingers or a paintbrush to dab a brown mane around the thumbprint. For the final touches, add eyes and nose using markers or a paintbrush.
That’s it for now, but keep your eyes peeled for more handprint art ideas coming very soon! And for those of you that don’t have supplies on hand (or time to ensure your children don’t splatter paint all over the walls), check out the Pinwheel Crafts shop. We offer complete projects kits that come with everything you need to keep your kids' hands and minds busy.
Happy Crafting!
Pinwheel Crafts


