3 DIY Holiday Lantern Ideas For Your Kids' Christmas Craft Project
Share
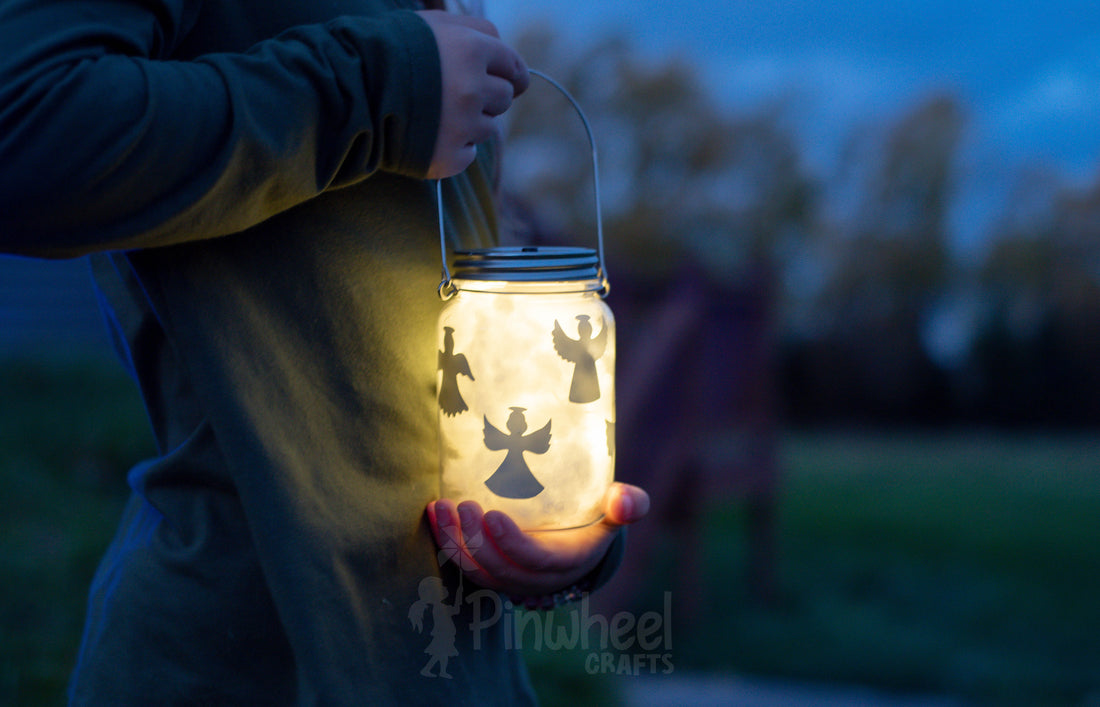
Nothing feels more cozy and inviting on a winter night than cuddling up on the couch with a warm blanket, a roaring fireplace, and candle light. Of course, as we all know, fire creates so many hazards, especially in a house filled with kids. So, how can you achieve such great mood lighting without worrying about potential accidents? Enter the Pinwheel Crafts Fairy Jar kit!
“What does a fairy jar have to do with holiday decor?” you might be asking. Well, there’s more than one way to dress up a project like this. That’s why in this blog, we’ll be bringing you lots of great ideas on how to customize your fairy jar lantern for the holiday, as well as an in depth walkthrough on how to make your own unique fairy lantern holiday decoration.
First things first, make sure you head over to the Pinwheel Crafts store and order your Fairy Jar lantern kit while supplies last. This all-in-one kit has all the essentials you need to create these fairy jar lantern projects as well as a super cute butterfly hair clip for any fashionable young people that live in your home. So hurry up! There’s only a few short days left to order your kit and receive it in time for the holiday.
Waterless Snow Globe

Who doesn’t love a beautiful snow globe during the holiday season? They are an iconic representation of this time of year and make for great decorations. The only problem is that they tend to be expensive, even if you buy them at a craft store. In addition, they can create a watery mess if they break open. Luckily, there are ways to recreate these adorable wintery scenes from scratch!
For this project we are going to be creating Christmas and holiday themed waterless snow globes. While you can use regular mason jars and basic fairy lights, Pinwheel Crafts has an all-in-one Fairy Jar kit with everything you need built right into the lid. As an added benefit, the full size jars are made of a sturdy plastic. This means you won’t have to worry about hazardous broken glass if your fairy jar, or waterless snow globe are dropped.

You will need:
- Pint-sized Mason Jar and Lid
- Battery-powered Mini Fairy Lights
- Note: You can find everything you need ready to house and display your waterless snow globe in the Pinwheel Crafts Fairy Jar kit. It even has the added benefit of of being a plastic jar, so you don’t have to worry about broken glass if your kids drop it.
- Poster Board or Cardboard
- Fake Snow
- Small Styrofoam Balls
- Scissors
- Glue
- Velcro
- Glitter and sequins
- Miniature Holiday Figures and Decorations
Directions:
- First, you’ll want to prepare your holiday scene. To do this, take the lid off of your jar and trace it onto your poster board or cardboard. Cut this circle out and trim it down until it fits into through the neck of the jar. You will be using this as the stage to attach your holiday scene.
- Cut or punch a small hole near the edge of the circle. This will allow you to pull the fairy lights through once you are done creating your scene.
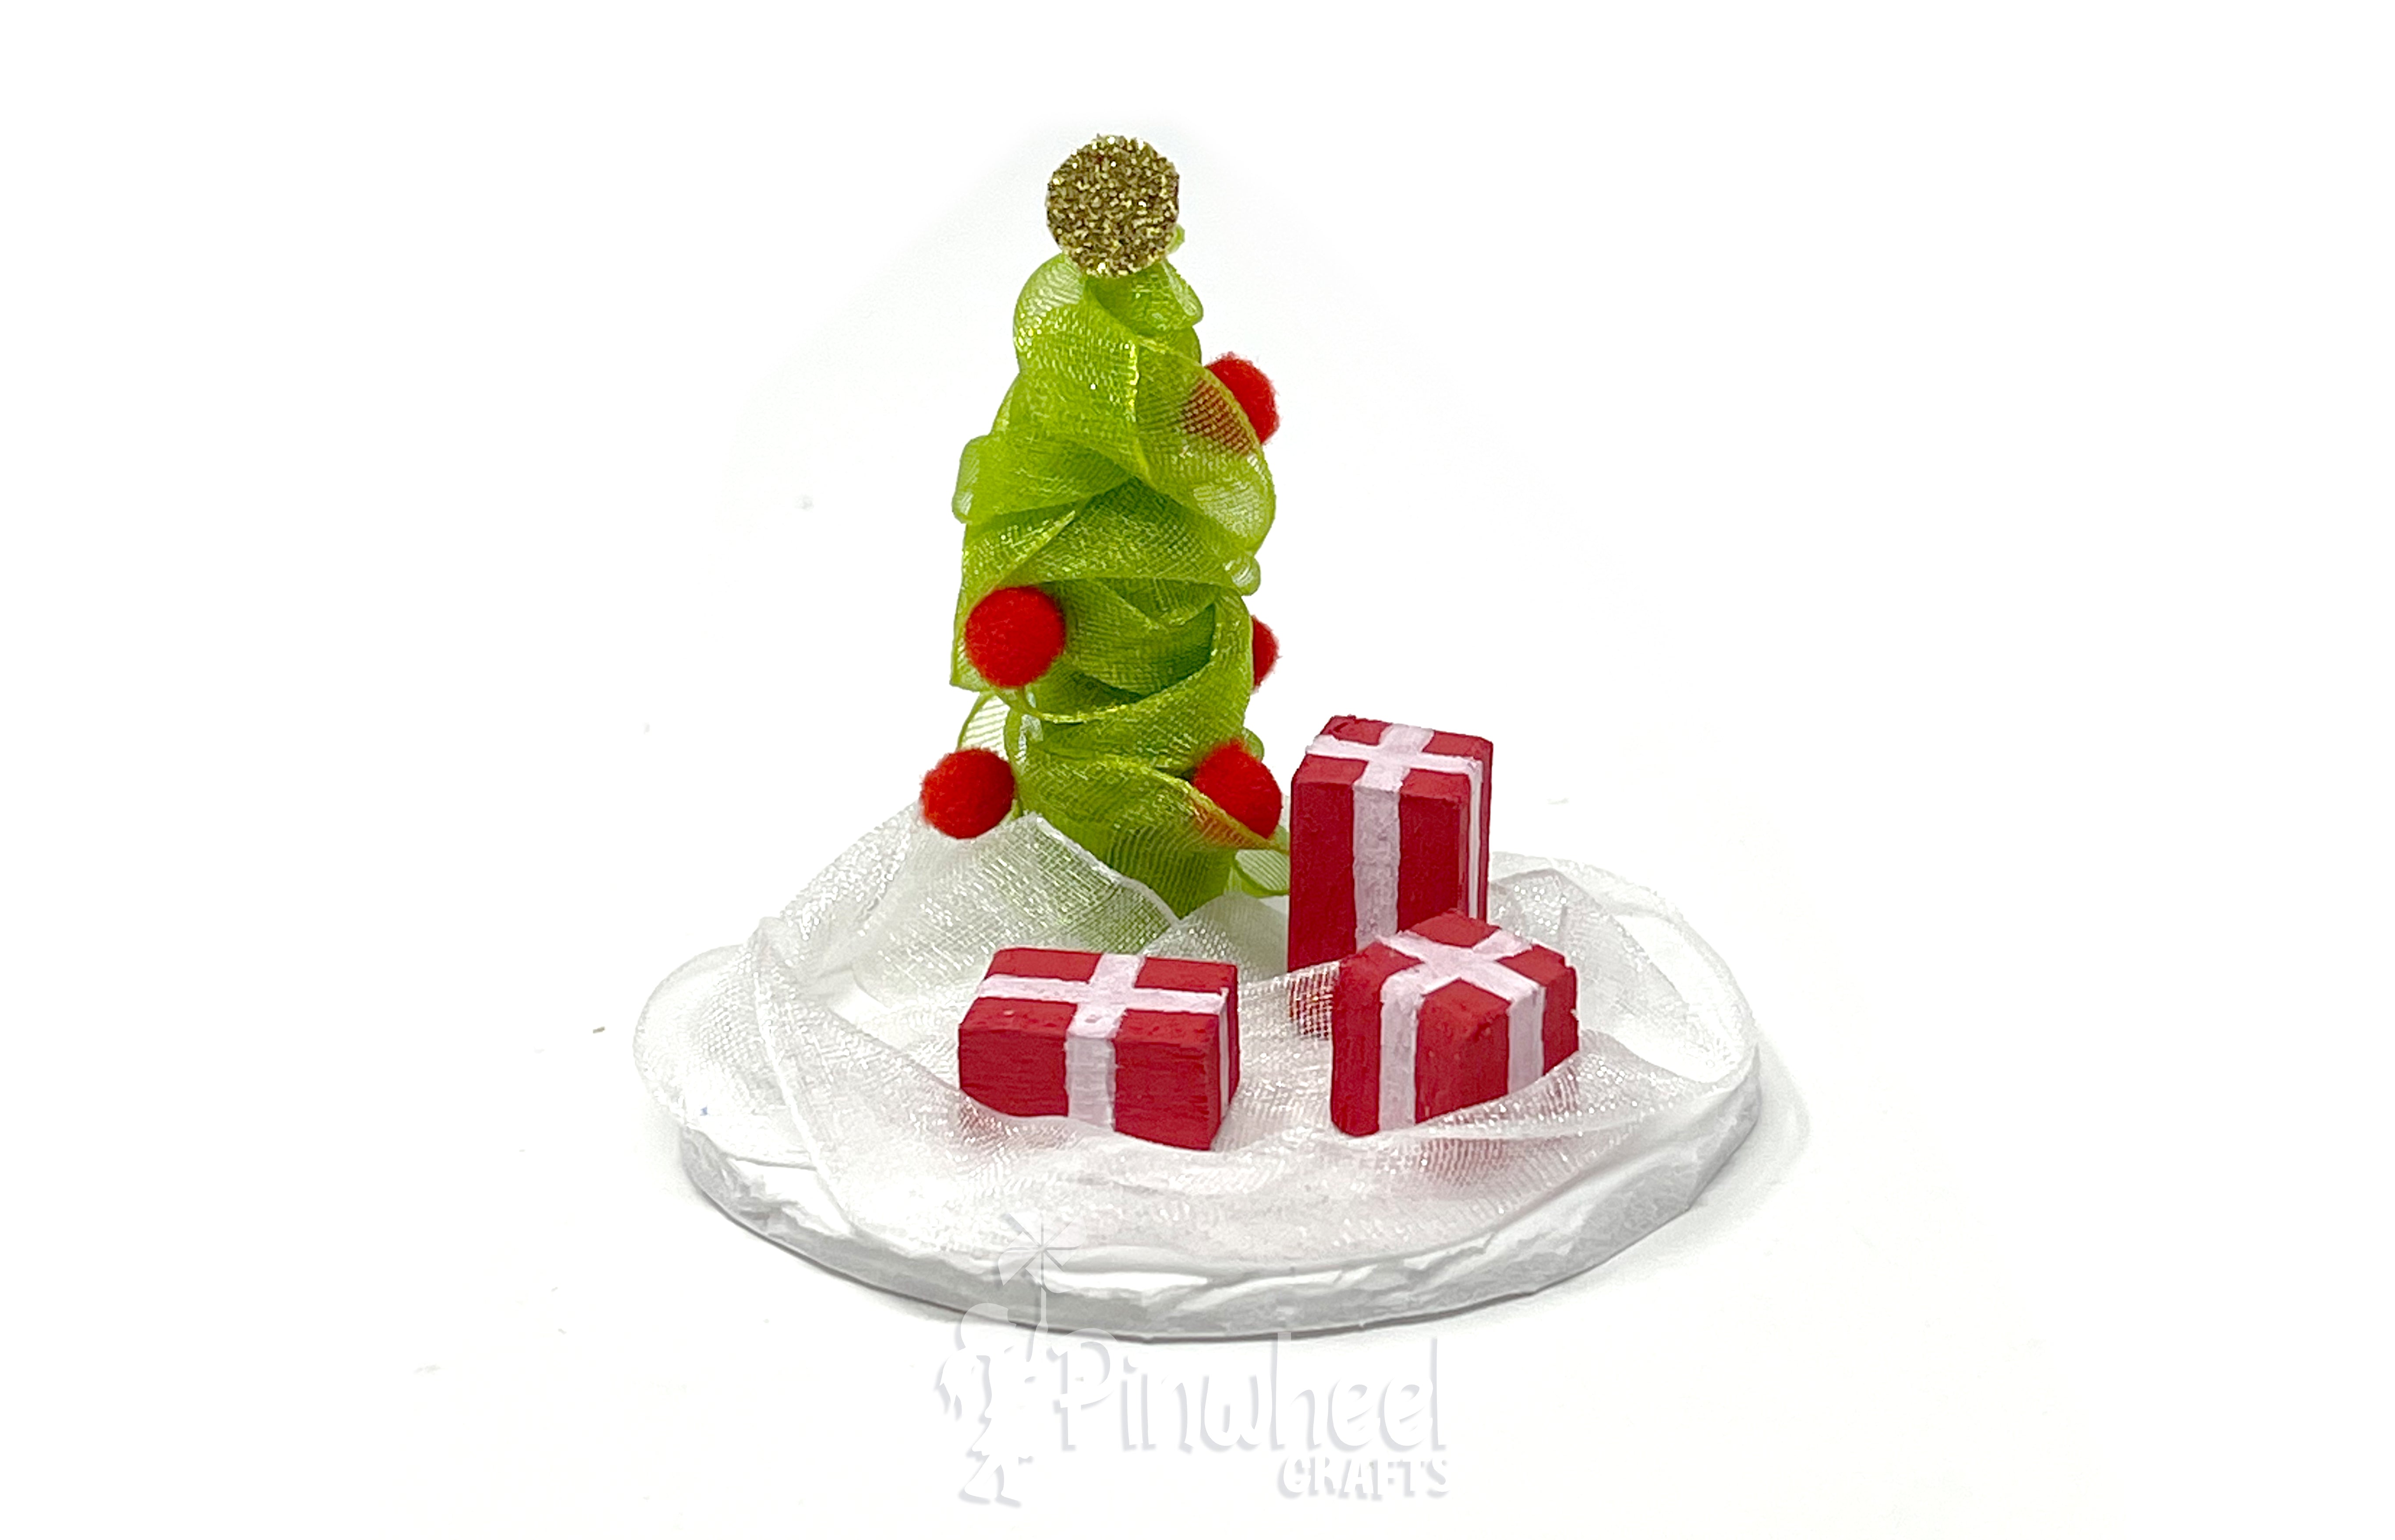
- Use whatever figures or supplies you want to create a Christmas or holiday scene. You can buy premade figures from the craft store, or build your own with things like oven-baked clay, chenille stems, and other supplies. For our scene, we used some of the ribbon included in the Fairy Jar kit to create a Christmas tree and snow effect. The tree is decorated with mini red pom poms and glitter paper. The presents are made from pieces of wood cut to size and painted to look like gifts.
- Now we’re ready to attach it to the inside of the lid.
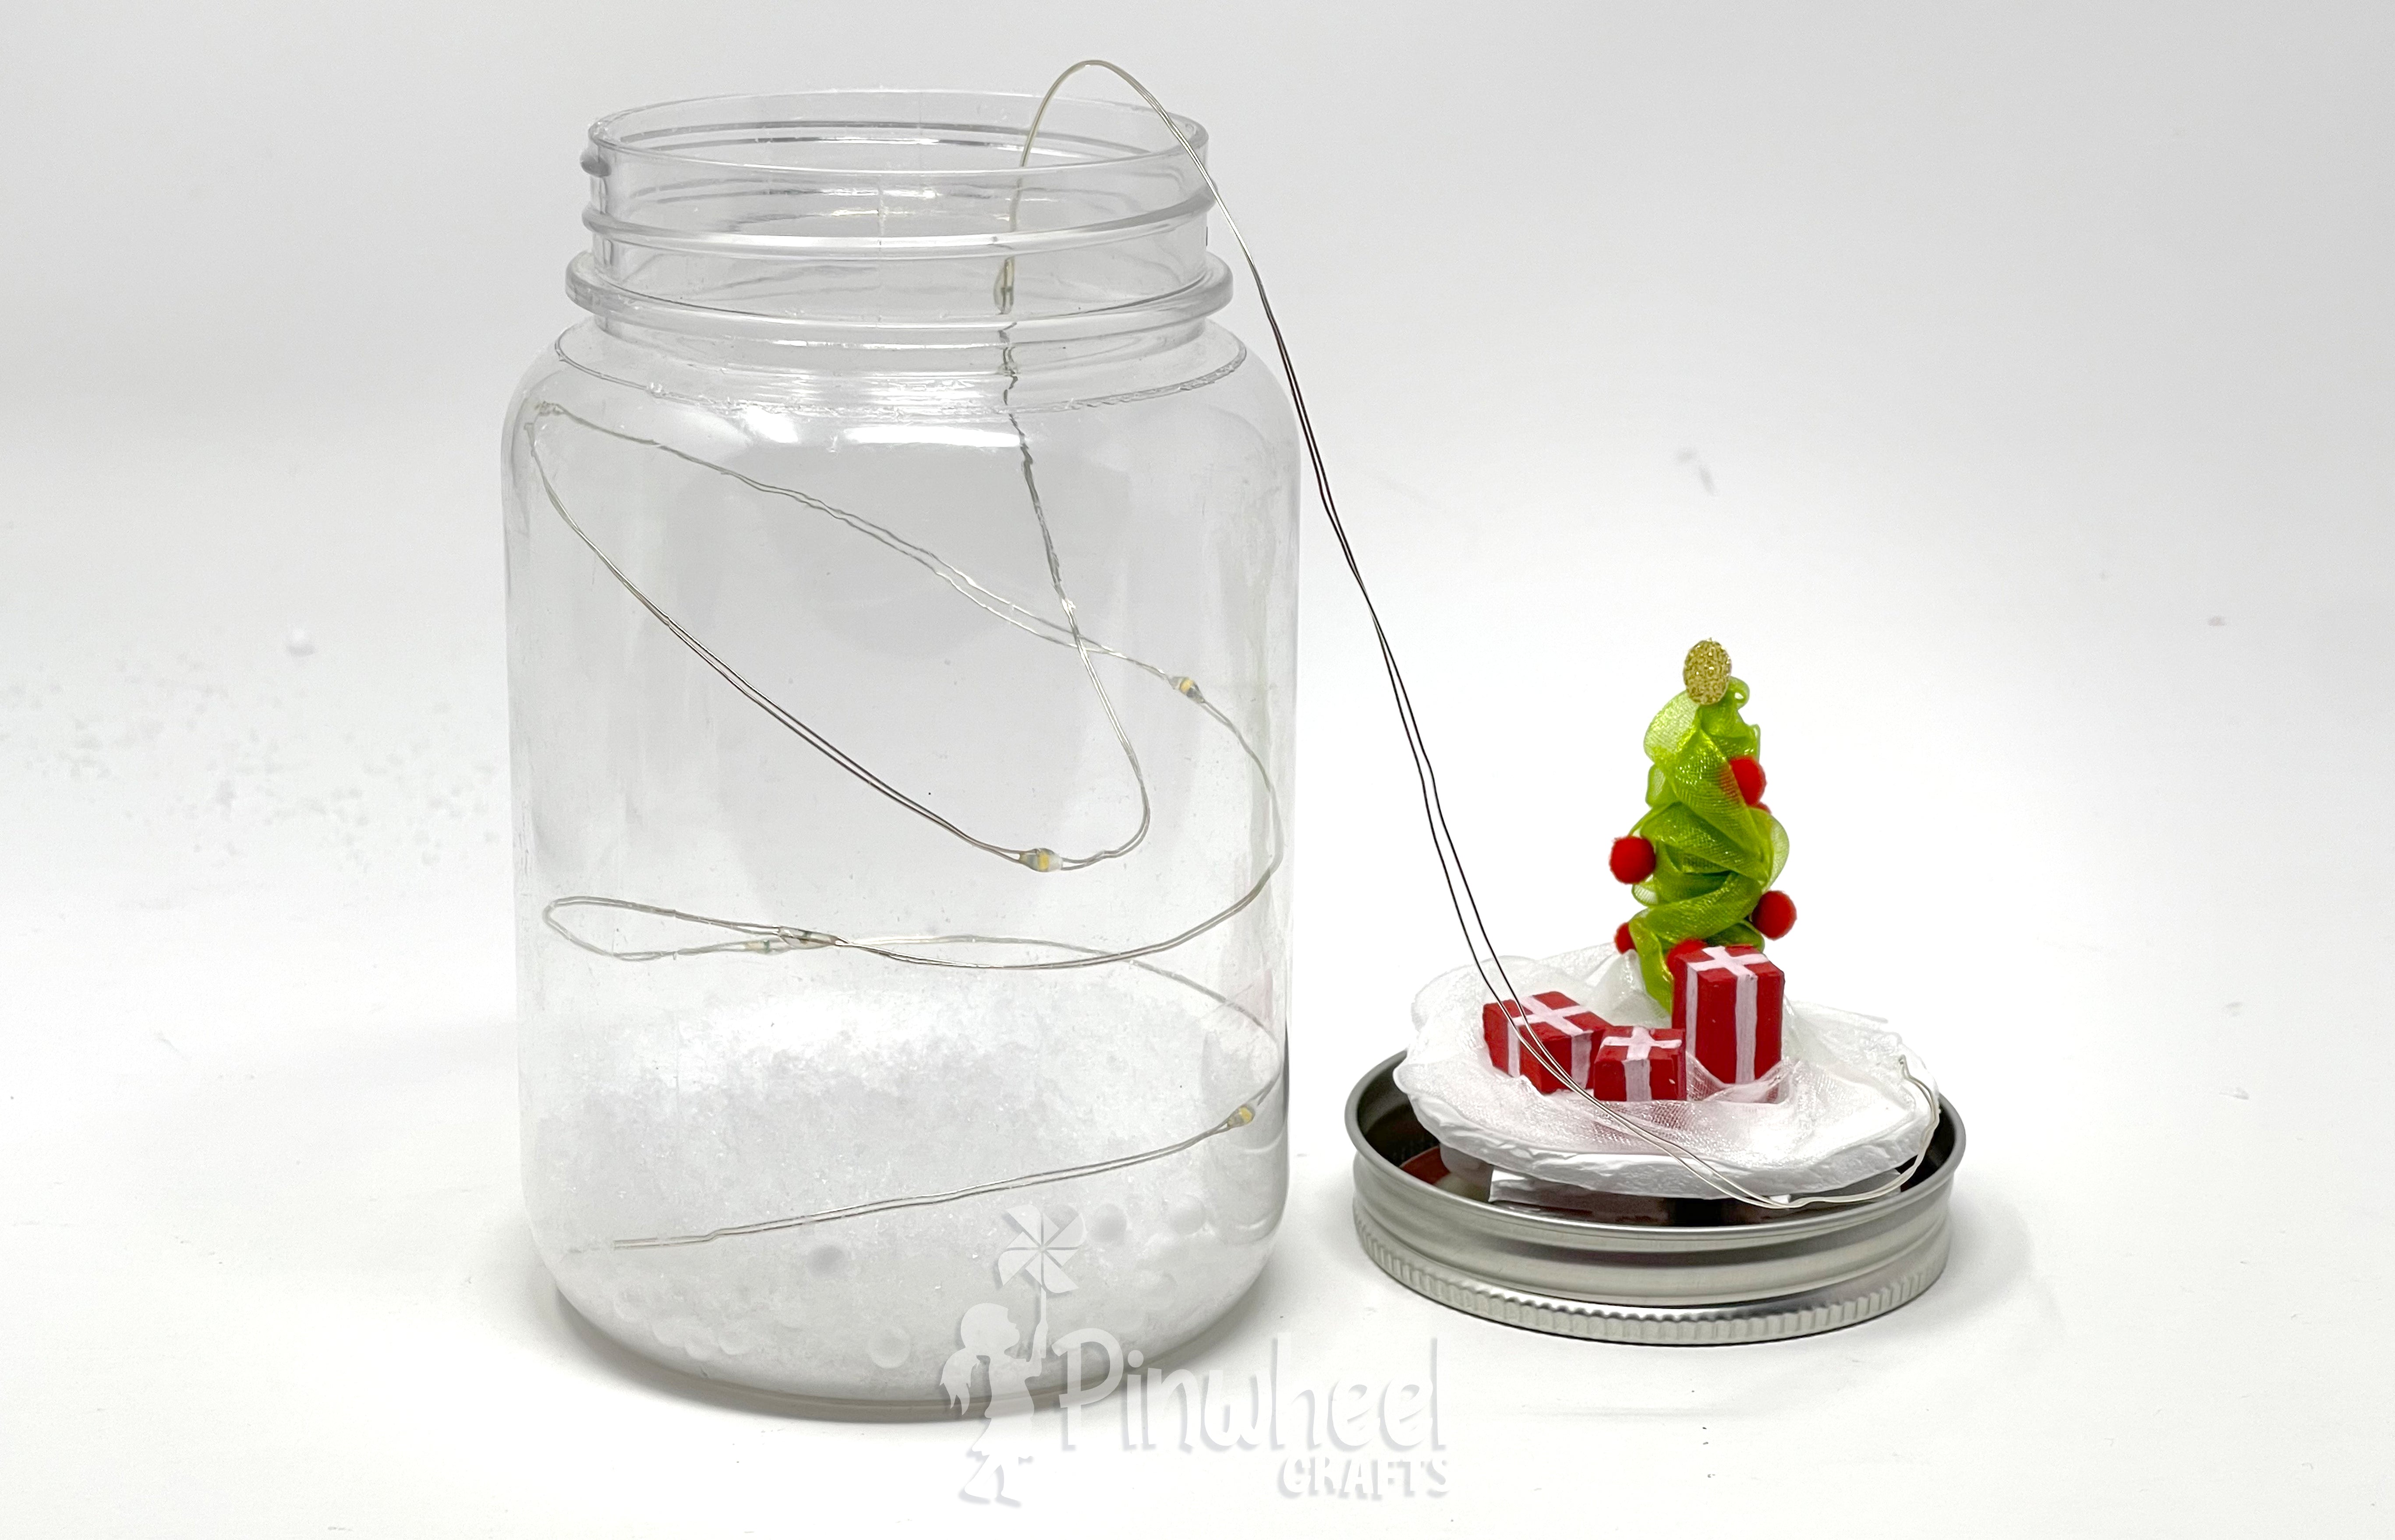
- Attach the fairy light battery casing to the underside of your winter scene using glue or velcro.
- Carefully pull the fairy light through the small hole you cut in the circle and arrange it around your scene.
- Now attach the little scene to the lid of the jar with glue or velcro. Depending on the depth of your lid, you may need to create small platforms to hold your circular stage higher off the lid. For our jar, we used small pieces of poster board glued three pieces high.
- Now it’s time to add the fake snow and styrofoam balls. Our scene was so small, so we only used about ¼ cup of fake snow flurries, and about a tablespoon of styrofoam balls. Depending on how much snow you want your globe to have, you may want to add more or less of each type.
- Now place the lid back onto the jar, screw it on tight, and turn the jar over.
- Ta da! You now have a waterless snow globe! Shake it around to add a flurry type effect around the walls of the jar.

Fairy Jar Ornament

An additional fun way to craft using jars and fairy lights is to create a unique ornament design. You can use many of the steps above to create a fun, holiday scene inside of your jar. But, instead of filling it with snow and glitter, you can simply glue an ornament cap on top. Unless you are using a plastic jar, we don’t recommend hanging your ornament from a tree. You can, however, use it as a fun decoration for a holiday gathering.
If you’d like to hang your lantern from the tree, we recommend using the Pinwheel Crafts Fairy Jar kit. Instead of attaching an ornament cap, though, you can simply hang it from the tree by its handle.
Cloud Lantern

One final way to make a unique fairy lantern project is to take the Fairy Jar kit and assemble it as normal. However, instead of covering the outside of the jar with tissue paper and glitter, you can stuff the jar with poly-fil or cotton stuffing. It gives your jar the appearance of being filled with a fluffy cloud.
~~~~~~~~~~~~~~~~~~~~~~~~~~~~~~~~~~~~~~~~~~~~~~~~~~~~~~~~
That’s it for this diy crafting post. What do you think? Did we miss any killer ideas that you love making for the holidays? Make sure to let us know in the comments below. And while you're at it, please share you and your kids' AMAZING creations with us on Instagram and Facebook. There’s nothing we love more than to see all the great stuff everyone comes up with.
Until next time, happy crafting!

